What is VMware Customization Specification?
A VMware customization specification, which I will refer to as custom spec throughout the rest of this article, is a set of pre-configured settings for virtual machines (VMs). These settings are applied automatically when a VM is cloned or deployed from a template, eliminating the need to manually configure each VM. This can save IT administrators time and effort, and it also ensures that multiple VMs are consistently configured.
Custom specs can include the following:
- General settings: VM name, operating system, product key, administrator password, time zone, etc.
- Network configuration: IP address, DNS servers, gateway, etc.
- Software installation: Automatic installation of required software.
- Script execution: Scripts to be executed when the VM starts.
- Additional settings: Security settings, power management settings, etc.
The benefits of using VMware custom specs include:
- Time savings: Eliminates the need to manually configure multiple VMs.
- Consistency: All VMs using the same custom spec are configured consistently.
- Reduced risk of errors: Prevents errors that can occur during manual configuration.
- Easy management: You can update custom specs to change the settings of all VMs at the same time.
If you are using VMware vSphere, you can manage custom specs through vCenter Server. It provides various options for creating, editing, and deleting custom specs.
Creating a Custom Spec for Linux
To create a custom spec for a Linux operating system, follow these steps:
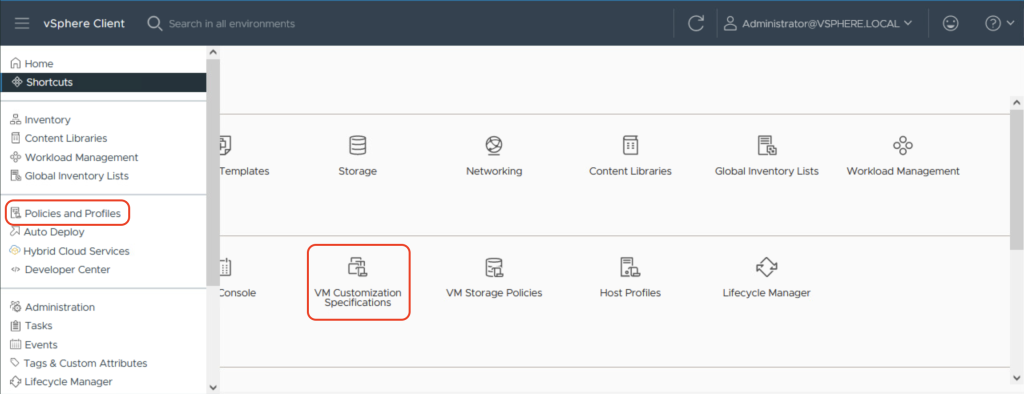
- Click on “Policies and Profiles” from the hamburger menu on the left or “VM Customization Specifications” from the vSphere Client home page to go to the custom spec page.
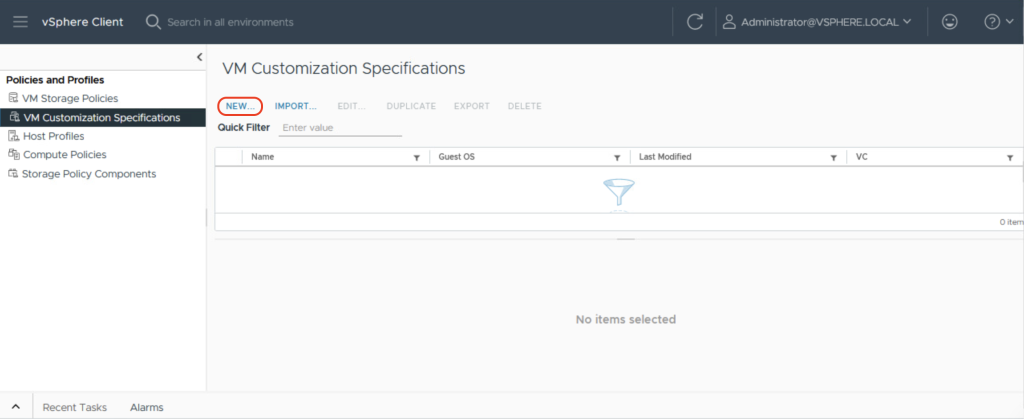
- From here we create a new custom spec by clicking “New”.
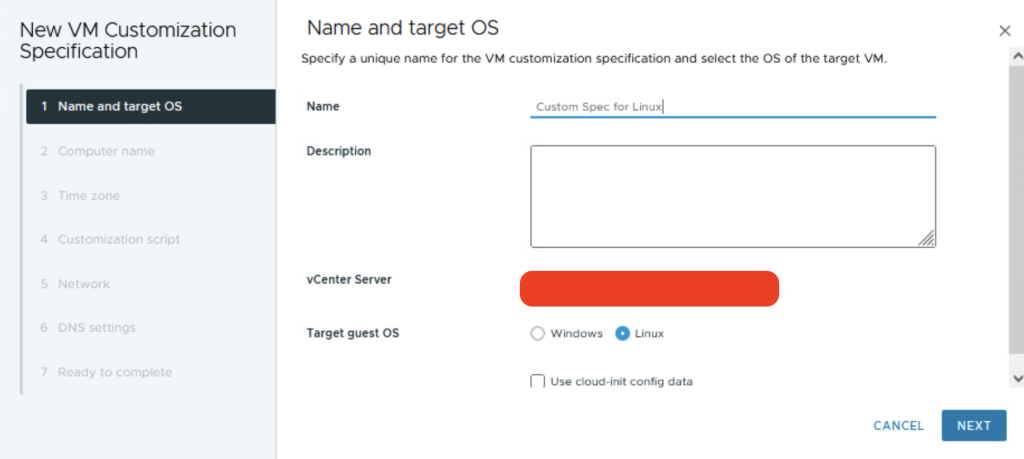
- Give the custom spec the name we want and select Linux as the target guest os.
- We choose how to name the VM

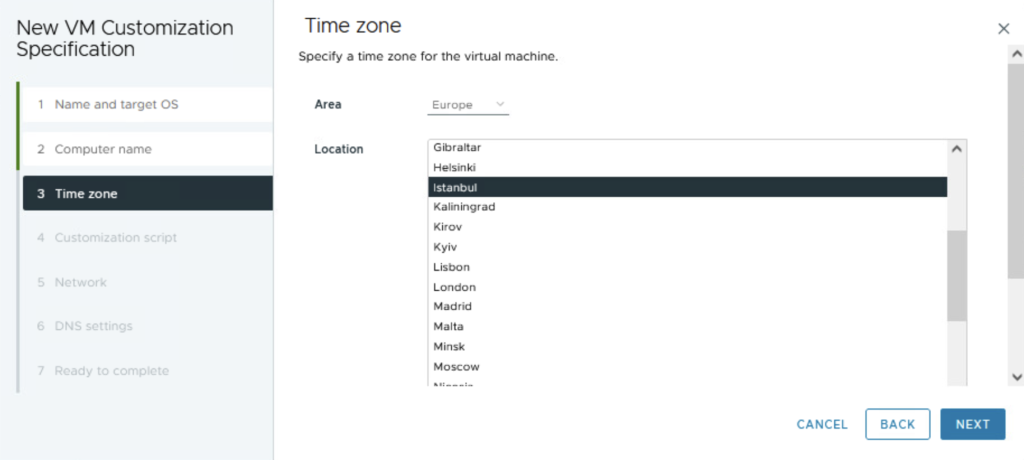
- Select the time zone for the VM.
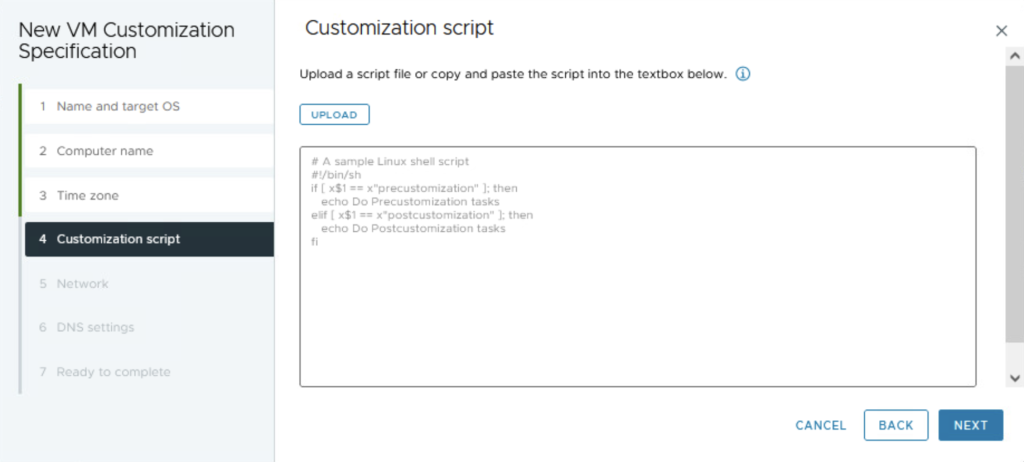
- We can use this to write the script to be executed when the VM first starts. I will leave it blank and continue.
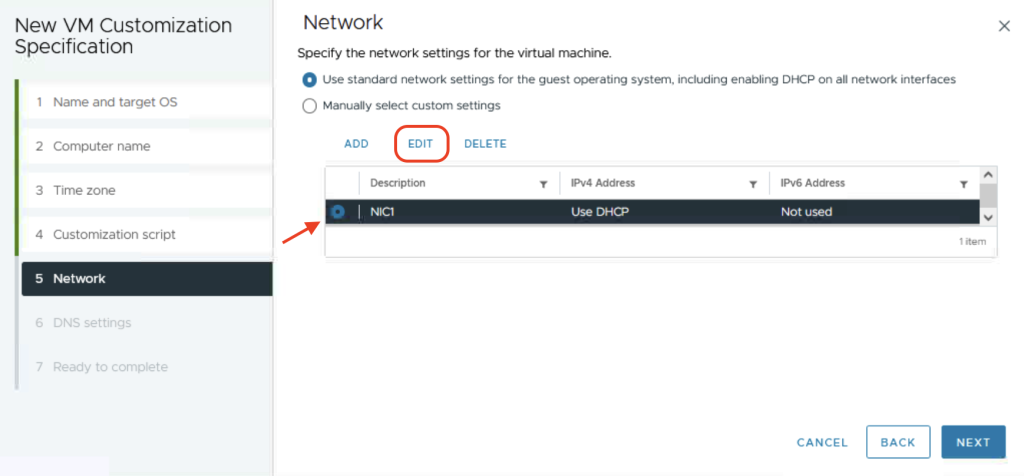
- We select “NIC1” to make network settings and click on edit.
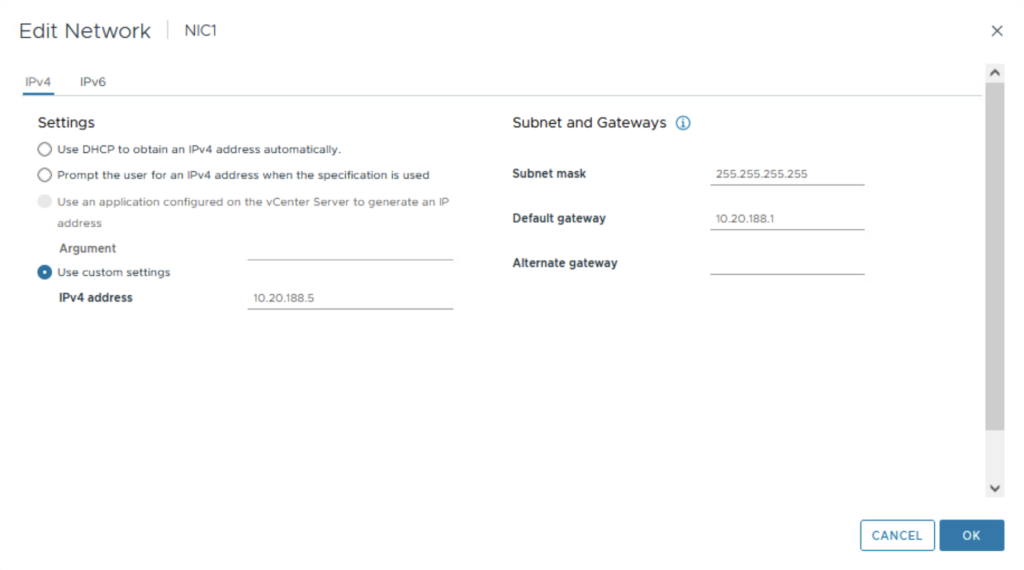
- We configure the network settings as we want.
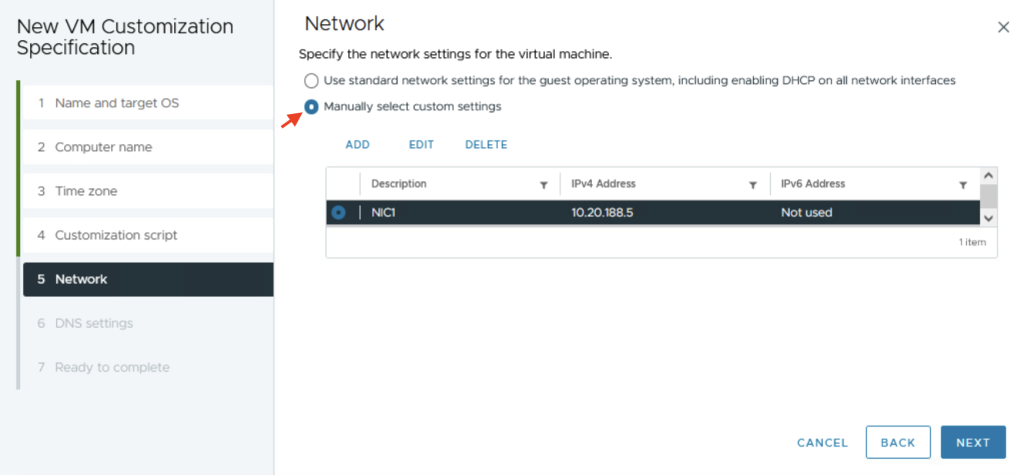
- Check “Manually select custom settings” to use our own network settings.
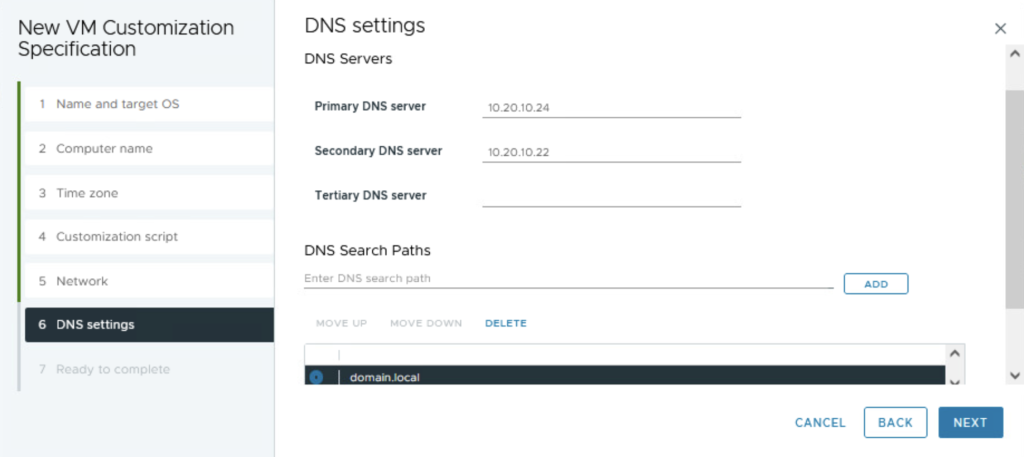
- We adjust the DNS settings.
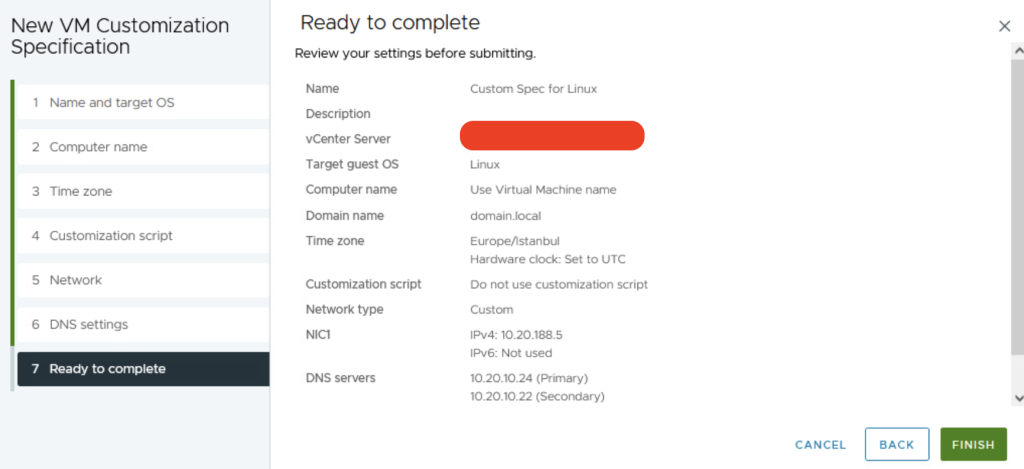
- Review the custom spec and create it by clicking “Finish”.
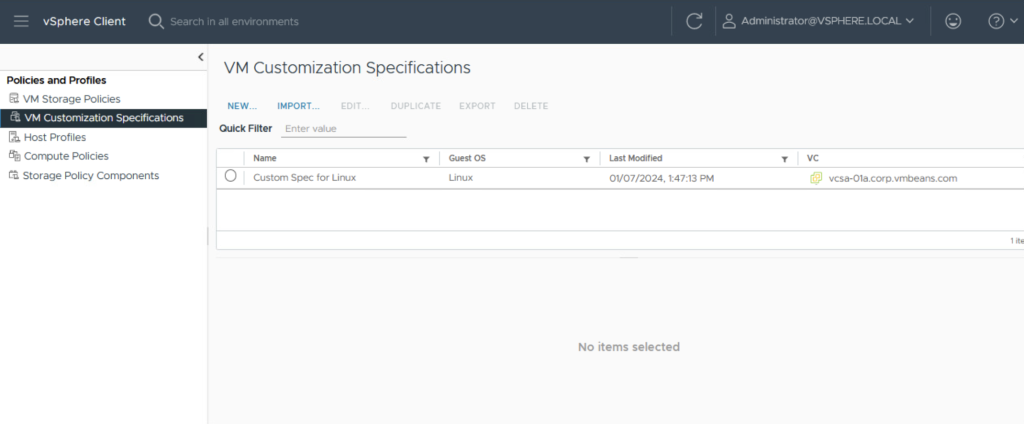
The created custom spec is shown here.
Using a Custom Spec to Clone a VM
We can clone a VM to use the created custom spec. The following shows how to use the custom spec when cloning a VM.
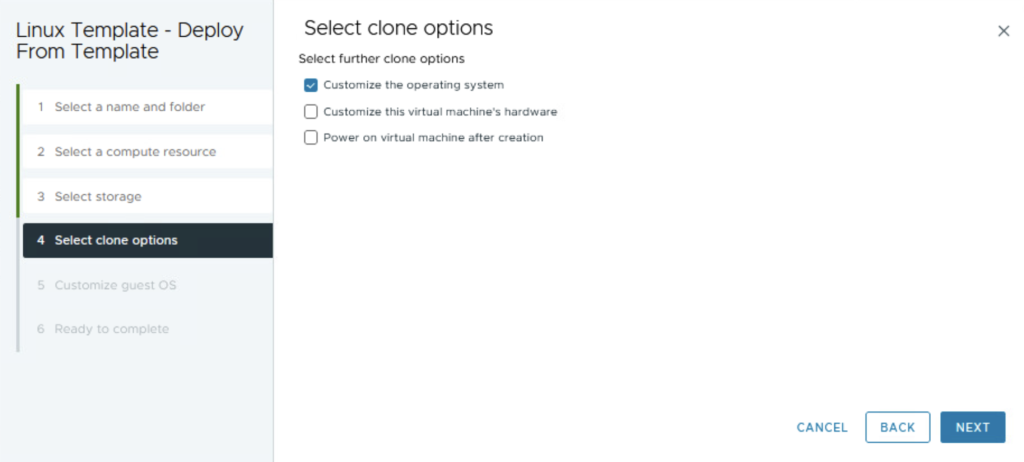
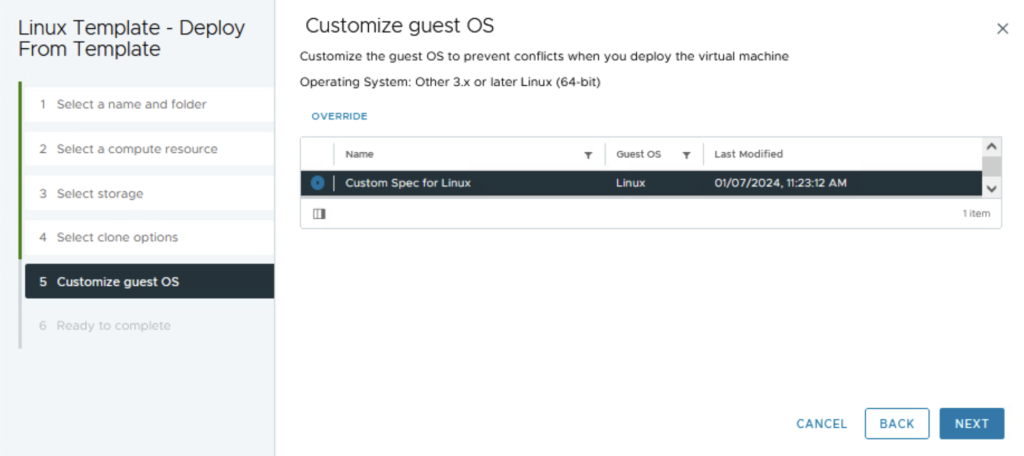
- Select “Customize the operating system” from clone options, step 4 of VM cloning.
- Here we select the custom spec we created.
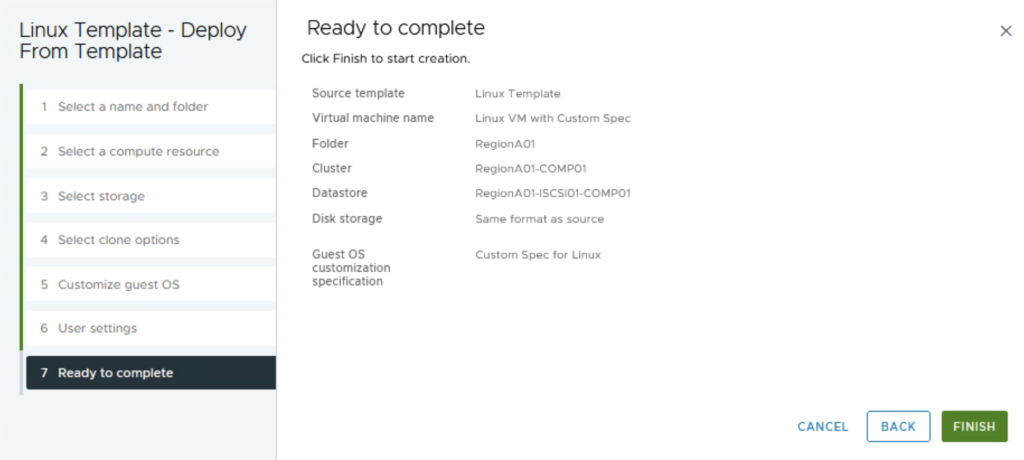
- By cloning the VM, we have completed all the steps.
Conclusion
Custom specs can be a valuable tool for IT administrators who need to quickly and easily configure multiple VMs. They can save time, ensure consistency, and reduce the risk of errors.
Leave a Reply